I just ordered the new Raspberry Pi 2 so that I could see how well it runs Mono. The problem, is itӳ not going to be delivered until the end of February, and I wanted to get started writing some test programs straight away. After doing some investigation, I have found out you can emulate Raspbian using a program called QEMU. Here is a guide on how to emulate the latest version of Raspbian under Windows 8.1.
Prerequisites
This guide is for Windows 8.1 64 bit, but Iӭ sure with a little tinkering it will work on older or newer version of Windows.
Before we begin, you will need to download the following prerequisites:
- QEMU ֠qemu-w64-setup-20150115 (Iӭ using the 64 bit version)
- Raspbian ֠2015-01-31-raspbian (Or later)
- Linux Kernel (Compiled to run on ARM)
- Must have 7-Zip installed (for extracting the QEMU setup)
Step 1: Create a working directory
First of all, we need a working directory to extract our files into. This will also be the place where the QEMU emulator will run from.
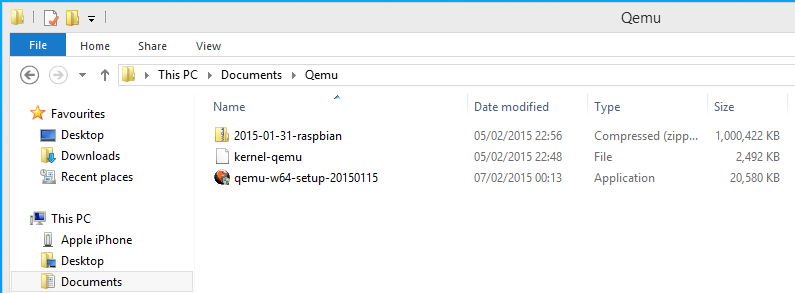
In explorer navigate to your documents folder, then create a new folder called Qemu.
Step 2: Copy Prerequisites into working directory
Download the latest version of QEMU, the Linux kernel, and the latest version of Raspbian and then copy them into the Qemu folder.

Step 3: Extract QEMU and the Raspbian Image with 7-Zip
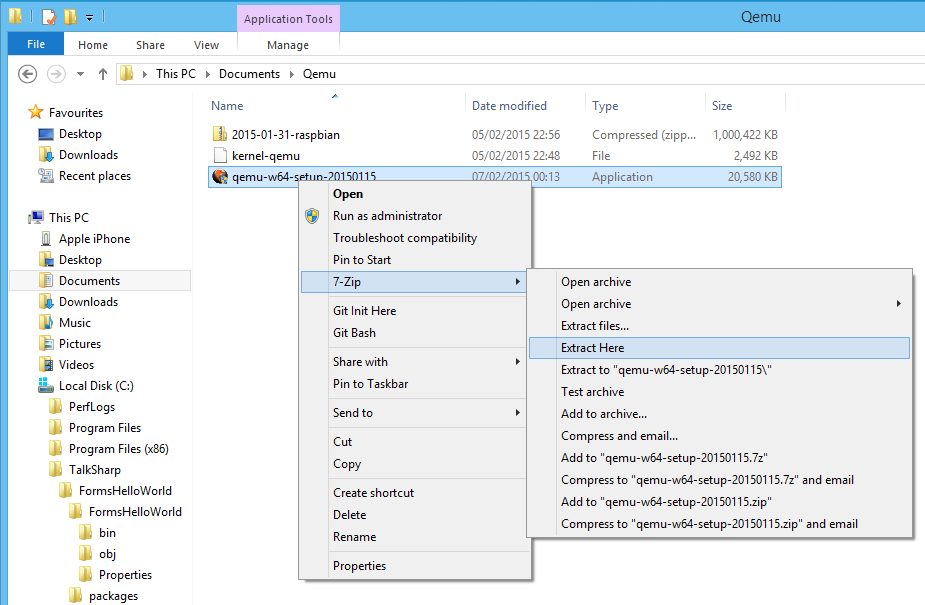
Right click on qemu-w64-setup-20150115.exe, click 7-Zip, and then click Extract Here.

Right click on 2015-01-31-raspbian.zip, click 7-Zip, and then click Extract Here.
All the files should now be placed in the root of the Qemu folder.
Step 4: First Boot of Raspbian
Open a command prompt then change to your Qemu directory using the following command:
cd %USERPROFILE%\Documents\Qemu
Run the following command to boot into a minimal shell:
qemu-system-arm.exe -kernel kernel-qemu -cpu arm1176 -m 256 -M versatilepb -no-reboot -serial stdio -append "root=/dev/sda2 panic=1 rootfstype=ext4 rw init=/bin/bash" -hda 2015-01-31-raspbian.img
We will use this shell to patch the Raspbian image to work with QEMU.
Patch Raspbian Image for QEMU
- Use vi or nano, to open the following file for edit:
vi /etc/ld.so.preload
- Comment out the first line by putting a # in front of it:
#/usr/lib/arm-linux-gnueabihf/libcofi_rpi.so(Note: I had to press SHIFT + 3 to get a # symbol)
-
Save the file and then exit the editor.
Symlink the kernels disks so they match the name used on the Pi
- Using vi or nano create a new file:
vi /etc/udev/rules.d/90-qemu.rules
- Add the following text to the file:
KERNEL=="sda", SYMLINK+="mmcblk0"
KERNEL=="sda?", SYMLINK+="mmcblk0p%n"
KERNEL=="sda2", SYMLINK+="root"
- Save and exit the file.
- Close the emulator by typing
Exitand pressing Enter.
Step 5: Resize the Image for Extra Space
We could boot the image now but we would only have 200MB of space. Not enough to do anything useful. The next step before doing a full boot is to resize the image so we have more space. At the command prompt run the following command:
qemu-img.exe resize 2015-01-31-raspbian.img +10G
This will add an extra 10GB of space to the image file. However, the space won’t be available inside the Raspbian operating system until we expand it in the next step.
Step 6: Full boot and Expand Disk Space
At the command prompt run the following command to fully boot Raspbian:
qemu-system-arm.exe -kernel kernel-qemu -cpu arm1176 -m 256 -M versatilepb -no-reboot -serial stdio -append "root=/dev/sda2 panic=1 rootfstype=ext4 rw" -hda 2015-01-31-raspbian.img -redir tcp:2222::22
Note: tcp:2222:22 allows you to connect to Raspbian using SSH via port 2222
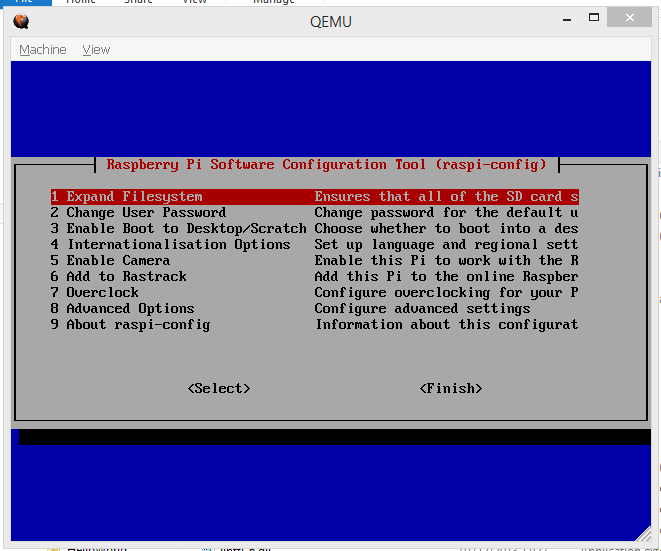
Once the operating system has finished booting for the first time, you should see the following screen:

Don’t try to expand the file system yet. If you try to expand the filesystem now, you will get an error message that says:
"/dev/root is not an SD card. Don't know how to expand"
To get around this we need to create a symlink to /dev/root.
Exit the raspi-config tool by clicking Finish, and then enter the following commands:
sudo ln -snf mmcblk0p2 /dev/root
sudo raspi-config
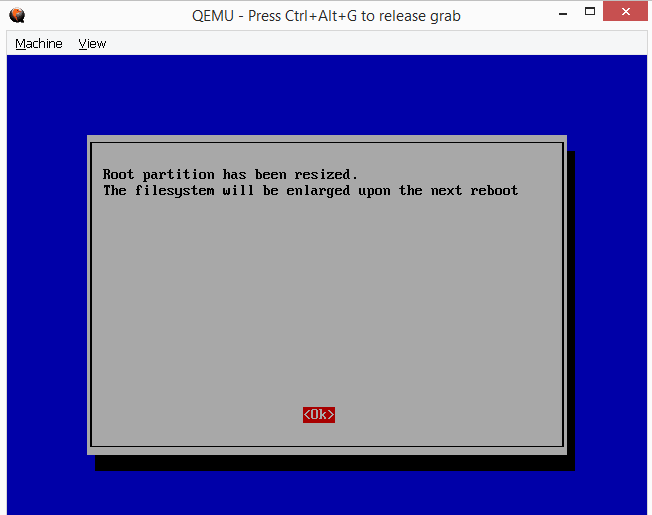
The Raspberry Pi Configuration tool will load again, you can then hit Enter on Expand Filesystem.

Click Ok and then reboot the system.
Step 7: Upgrade Raspbian
Now that the disk space has been increased, the final step is to upgrade the Raspbian image. You will need to run the command at the beginning of step 6 to boot the emulator again.
Tip: Create a batch file to run the command to make life easier.
Once the operating system boots, you will be asked to login. The default username is pi, and the default password is raspberry. Login, and then run the following commands:
sudo apt-get update
sudo apt-get upgrade
Conclusion
You should now have the latest version of Raspbian running under Windows 8.1. You should be able to connect to the system using SSH via port 2222.
Not happy about running an emulator? Here is a link to the Amazon purchase page of the latest Raspberry Pi.