This post will show you how to create a new ASP.NET MVC 5 application using Visual Studio 2013.
Step 1: Open Visual Studio 2013
It goes without saying, you’re gonna need Visual Studio to create a web application using ASP.NET, and the version you will need for ASP.NET MVC 5 is Visual Studio 2013. If you haven’t already installed Visual Studio 2013, there’s now a free community edition that has all the features of professional.
Step 2: Create a new ASP.NET MVC 5 Application
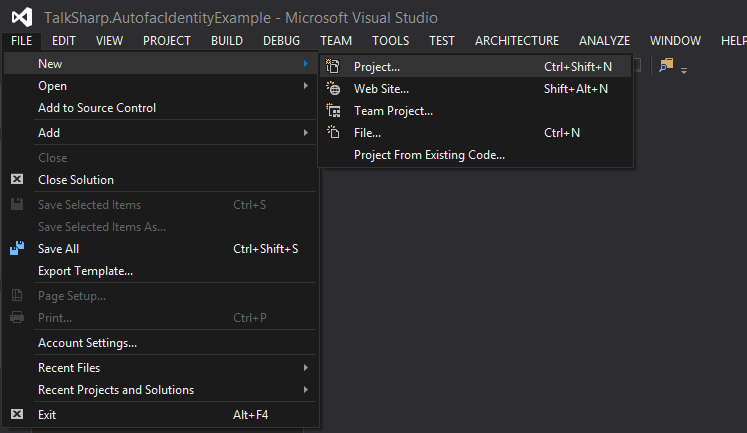
- Click File, New, then Project….
-
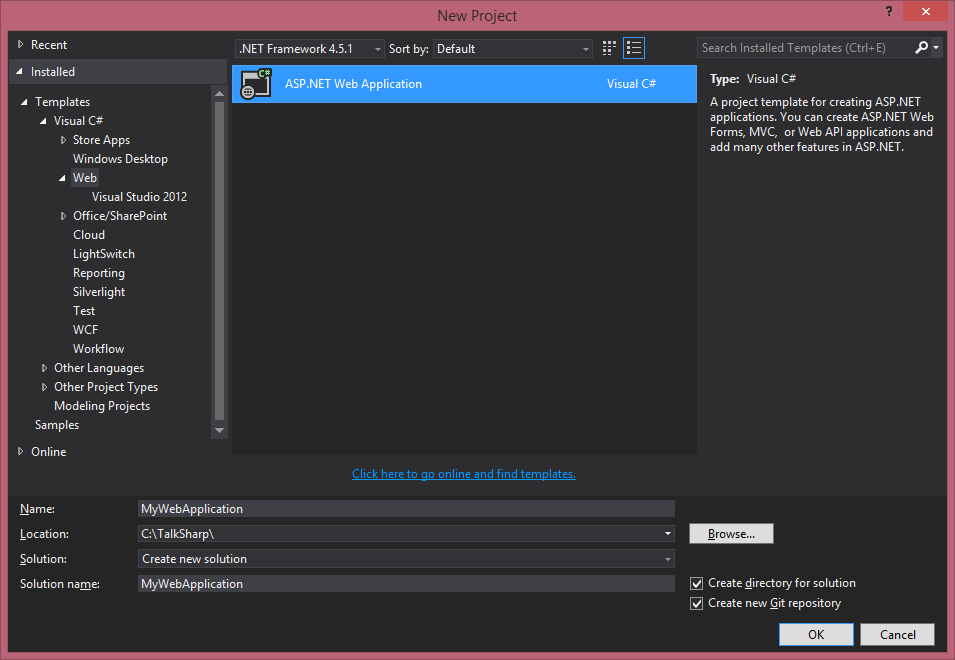
Select Web, then ASP.NET Web Application, give the project a name, and then click OK.
-
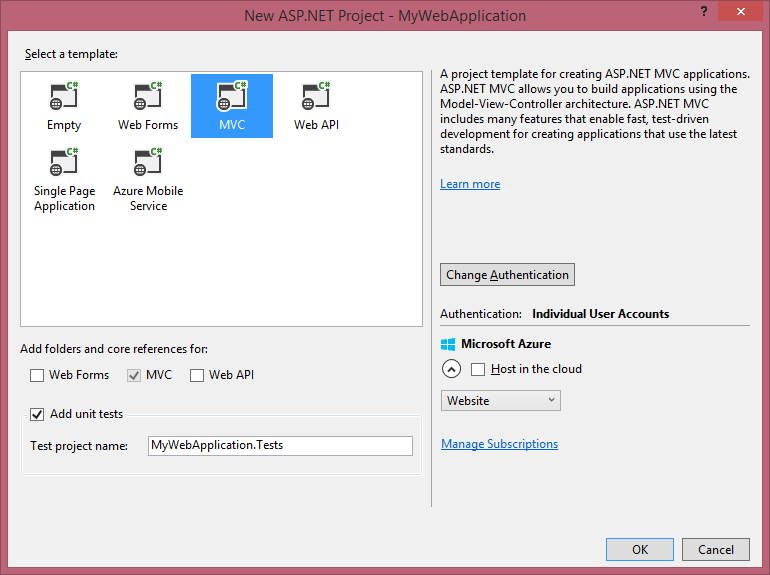
Select the MVC template, tick Add unit tests, and then click OK.
Step 3: Update existing NuGet packages
Click on Tools, then NuGet Package Manager, then NuGet Package Manager Console.
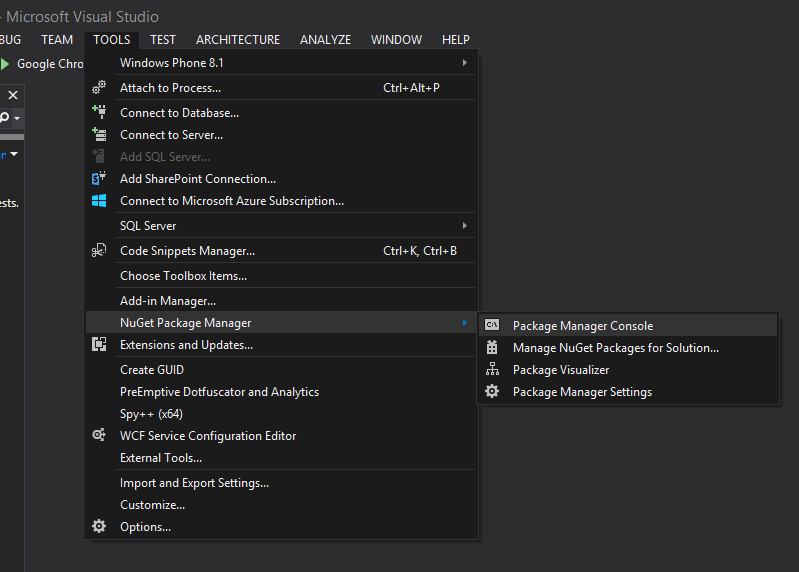
Enter the following command into the Package Manager Console window:
Update-Package
This will update all the existing packages.
Step 4: Run your new web application for the first time
Click on the MyWebApplication project, and then click the Play icon to launch the website.
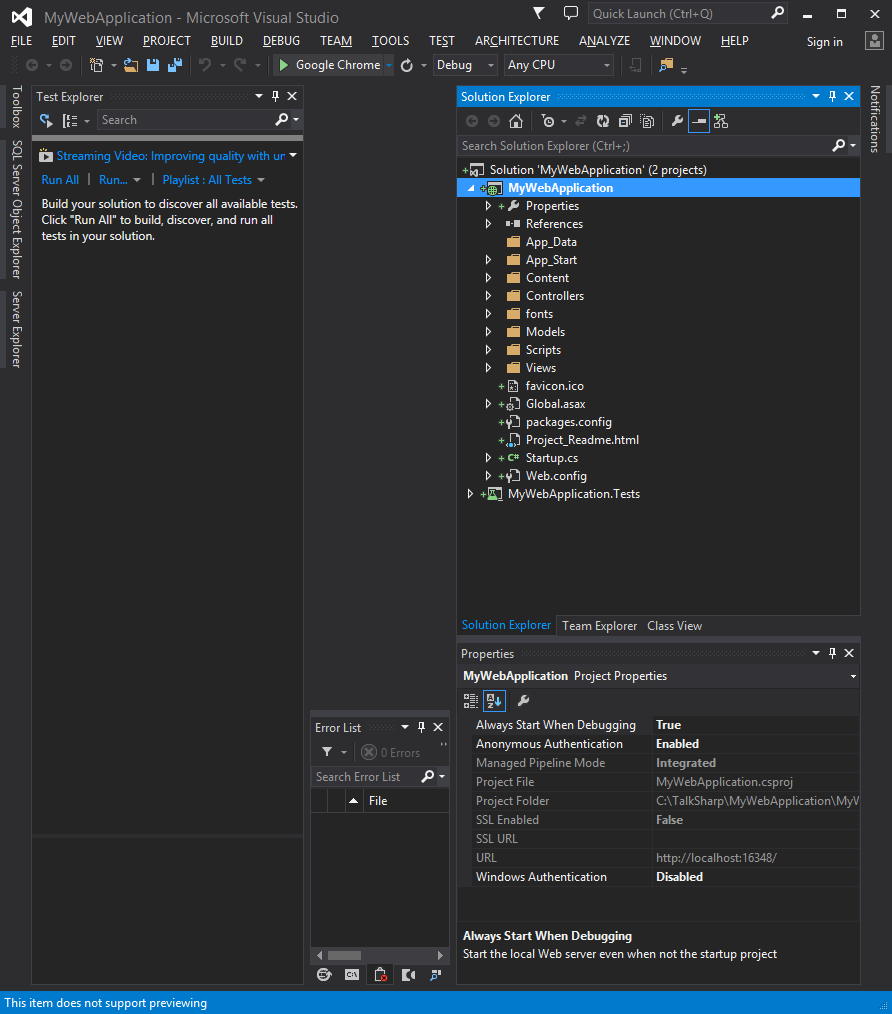
Step 5: Admire your new project 🙂
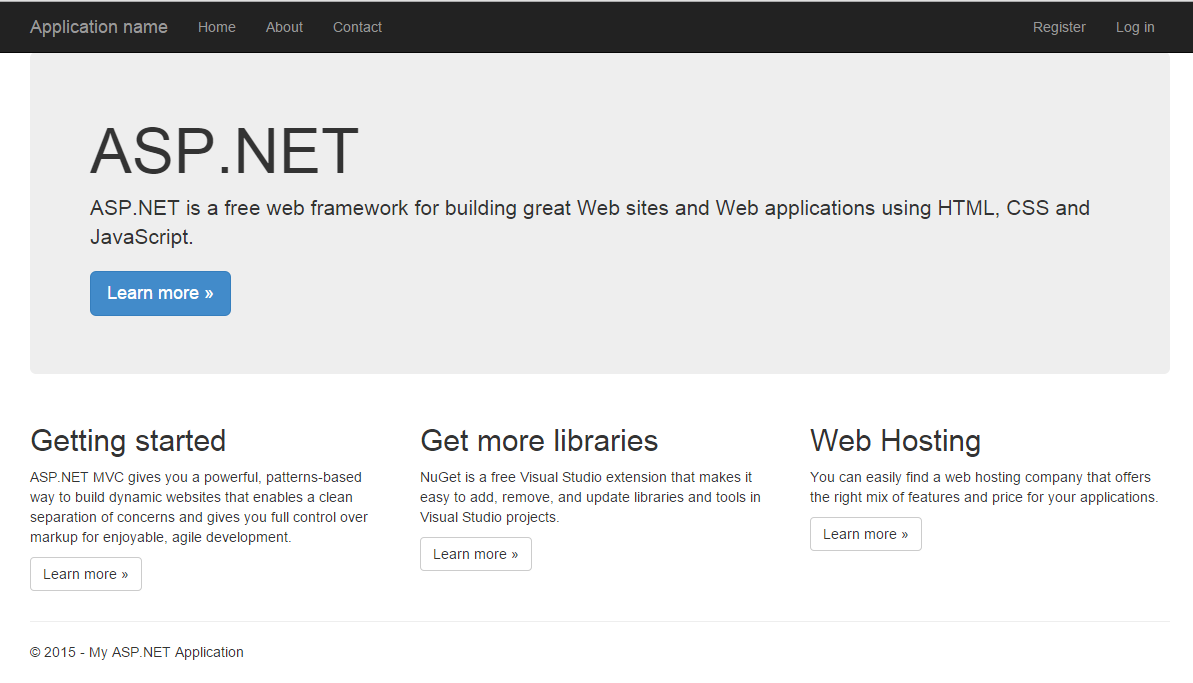
That’s it!
A newly created web application that includes some impressive functionality out of the box. The default template gives you:
- Bundling and minification.
- The ability to register, and sign into your account.
- A snazzy prebuilt layout that uses bootstrap.
- And you get a framework that lets you create scaleable web applications using the well-established MVC design pattern.
To learn more about MVC 5, visit the: ASP.NET MVC 5 website.