When Microsoft dropped support for the traditional Windows setup projects in Visual Studio 2012, I was stuck with Visual Studio 2010 for programs that relied on setup projects. I needed a new way of installing Windows services, and the recommended alternative was the WiX Toolset. In this post, weӬl learn how to use WiX to create a Windows installation package that installs a Windows service.
In a previous post, I discussed how to create a basic windows service, and how to install it using InstallUtil. We will continue where we left off by adding a WiX setup project, and configuring it to install our TestService.
If you don’t want to follow the steps in the previous post, you can download the TestService solution and follow thesteps in this post.
What is the WiX Toolset?
Since Visual Studio 2012, the traditional Windows setup project has been removed. WiX is the recommended alternative, and has been used by Microsoft to package products like Office, SQL Server and Visual Studio.
WiX, (Windows Installer XML) is a free open source toolset by Microsoft that builds Windows installer packages from XML source code. Installing the WiX Toolset will add the ability to create WiX setup projects with Visual Studio.
The main difference to the old Visual Studio setup projects, is with WiX, there is no user interface, and everything is configured using XML files. This increases the power and flexibility of your setup projects.
Installing the WiX Toolset
Before we can create the WiX setup project, we need to install the WiX Toolset. You can find a link to the latest download on the WiX Toolset website.
- Download WiX Toolset v3.8 from the WiX Toolset Website.
- Close all instances of Visual Studio and then run wix38.exe.
- Click Install, and wait for the setup to complete.
- Once complete, click Exit to finish the setup.
Create the WiX setup project
- Open the TestService solution we created in the last post.
- Right click on the TestService solution, click Add, and then click New Project.
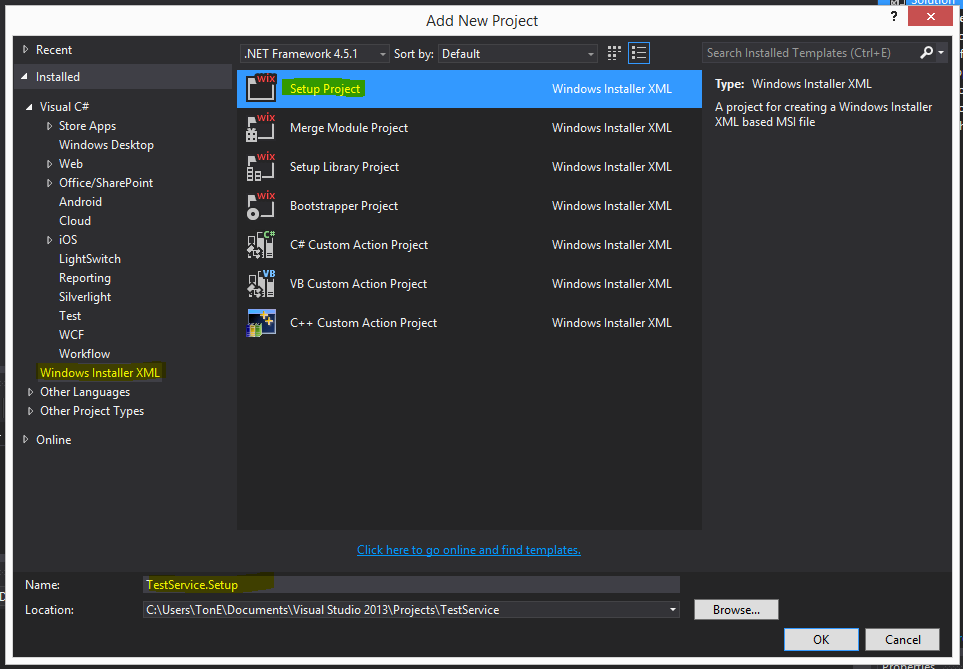
- In the Add New Project dialog, click on Windows Installer XML, and choose Setup Project.
- Name the project TestService.Setup, and then click OK to create the project.
You should now have a setup project with a single Product.wxs file. Next, we need to add a reference to the TestService project.
Add a reference to TestService project
Adding a project reference toTestService, ensures the TestService.exe file will be generated when the setup project is built. It also generates a set of WiX preprocessor definitions that are required when configuring theProduct.wxs file.
Follow the steps below to add a reference to the TestService project:
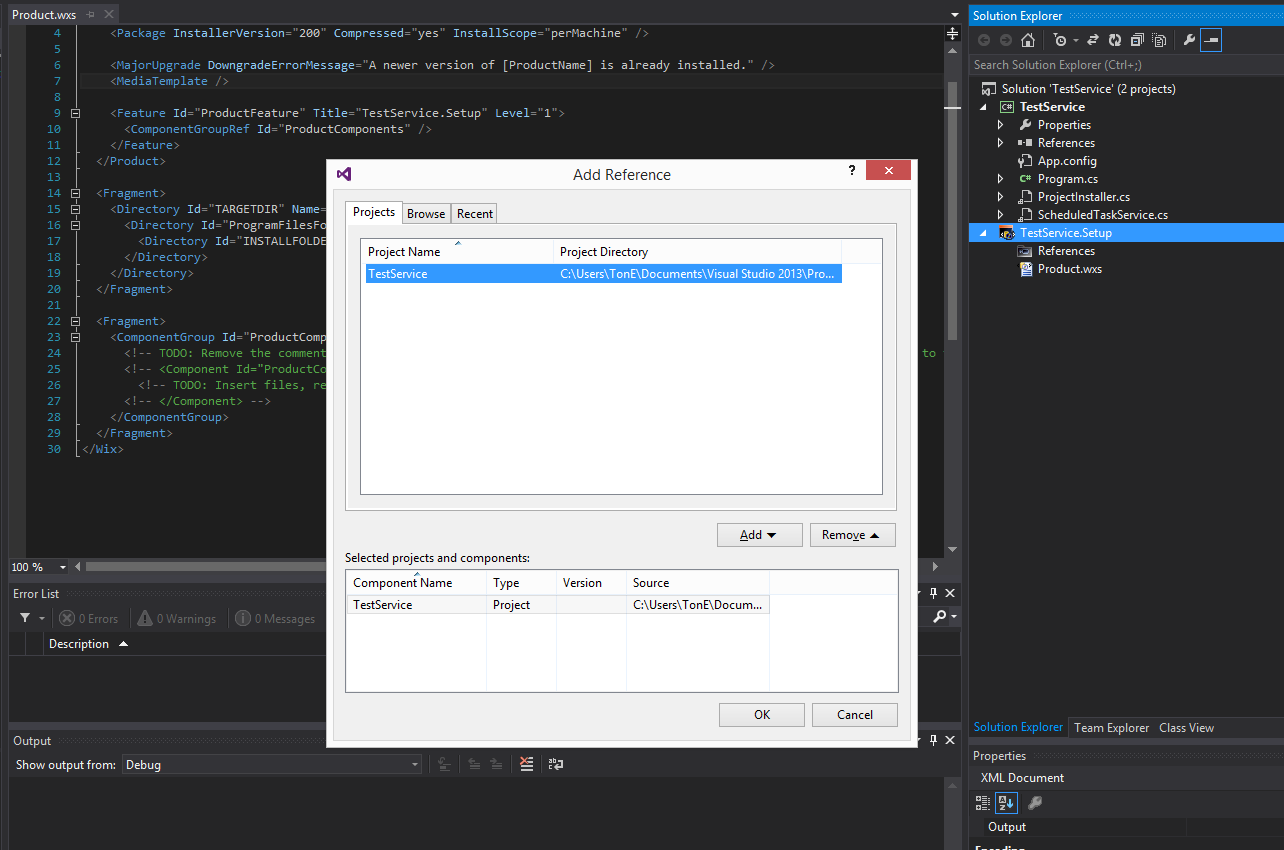
- Right click on References, and then click Add Reference.
- In the Add Reference dialog, click on the Projects tab.
- Select the TestService project, click Add, and then click OK to close the dialog.
Now that the project reference is added, we can configure the Product.wxs file.
Configuring the Product.wxs file
Replace the contents of the Product.wxs file with the following XML.
<?xml version="1.0" encoding="UTF-8"?>
<!-- The name of the product -->
<?define Name = "Test Service" ?>
<!-- The manufacturer, for setup package publisher and folder info -->
<?define Manufacturer = "Talk Sharp" ?>
<!-- The version number of this setup package-->
<?define Version = "1.0.1" ?>
<!-- UpgradeCode must be unique and not changed once the first version of the program is installed. -->
<?define UpgradeCode = "{1240E0CD-B3D2-44A7-B064-11B3C0709D69}" ?>

<Wix xmlns="http://schemas.microsoft.com/wix/2006/wi">
<Product Id="*" Name="$(var.Name)" Manufacturer="$(var.Manufacturer)" UpgradeCode="$(var.UpgradeCode)" Version="$(var.Version)" Language="1033">
<!-- Create a folder inside Talk Sharp called Test Service -->
<Package InstallerVersion="300" Compressed="yes"/>
<!-- Create a folder inside Talk Sharp called Test Service -->
<Media Id="1" Cabinet="TestService.cab" EmbedCab="yes" />
<!-- Allow upgrades and prevent downgrades -->
<MajorUpgrade DowngradeErrorMessage="A later version of [ProductName] is already installed. Setup will now exit." />
<!-- Define the directory structure -->
<Directory Id="TARGETDIR" Name="SourceDir">
<Directory Id="ProgramFilesFolder">
<!-- Create a folder inside program files called Talk Sharp -->
<Directory Id="ROOTDIRECTORY" Name="$(var.Manufacturer)">
<!-- Create a folder inside Talk Sharp called Test Service -->
<Directory Id="INSTALLFOLDER" Name="$(var.Name)" />
</Directory>
</Directory>
</Directory>
<!-- The files inside this DirectoryRef are linked to the Test Service directory via INSTALLFOLDER -->
<DirectoryRef Id="INSTALLFOLDER">
<!-- Create a single component which is the TestService.exe file -->
<Component Id="$(var.TestService.TargetFileName)">
<!-- Copies the TestService.exe file using the project reference preprocessor variables -->
<File Id="$(var.TestService.TargetFileName)" Source="$(var.TestService.TargetPath)" KeyPath="yes" />
<!-- Remove all files from the INSTALLFOLDER on uninstall -->
<RemoveFile Id="ALLFILES" Name="*.*" On="both" />
<!-- Tell WiX to install the Service -->
<ServiceInstall Id="ServiceInstaller"
Type="ownProcess"
Name="TestService"
DisplayName="$(var.Name)"
Description="A Test Service that logs dummy text on an interval to a text file."
Start="auto"
ErrorControl="normal" />
<!-- Tell WiX to start the Service -->
<ServiceControl Id="StartService" Start="install" Stop="both" Remove="uninstall" Name="TestService" Wait="yes" />
</Component>
</DirectoryRef>
<!-- Tell WiX to install the files -->
<Feature Id="MainApplication" Title="Main Application" Level="1">
<ComponentRef Id="$(var.TestService.TargetFileName)" />
</Feature>
</Product>
</Wix>
I won’t go into all the details of the Product.wxs file, because I have put comments before each element to explain what it does. Also, you can find much more detailed documentation on each of the elements on the WiX Toolset website.
What I will say, is if you use this Product.wxs file for your own custom built service, you will need to change the Name, Manufacturer, Version, and UpgradeCode variables at the top of the file. You will also need to change wherever it says var.TestService to the name of the service project you have referenced.
You will also need to add extra file elements for any extra files you need copied into the installation directory.
Building the setup project
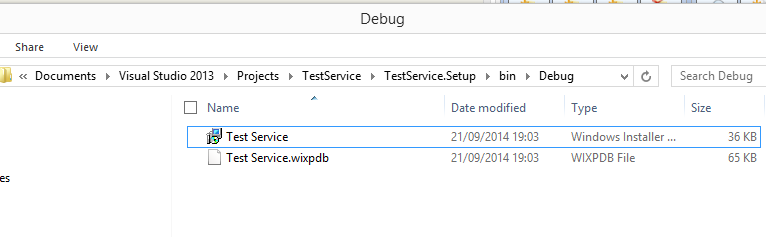
You should now be able to right click on your TestService.Setup project and click Build. The Test Service.msi file will be generated inside the Debug or Release folder.
Installing the Windows service
Running the Test Service.msi file will copy the Test Service.exe file into “C:\Program Files (x86)\Talk Sharp\Test Service”, the service will be installed, and then started. If you have used the project from the previous post, you should see a log.txt file created inside the same folder as the TestService.exe file.
Uninstall the Windows service
You can remove the service by going to Start, Control Panel, and then clicking on Uninstall a program. The image below shows our installed service in the list of programs.
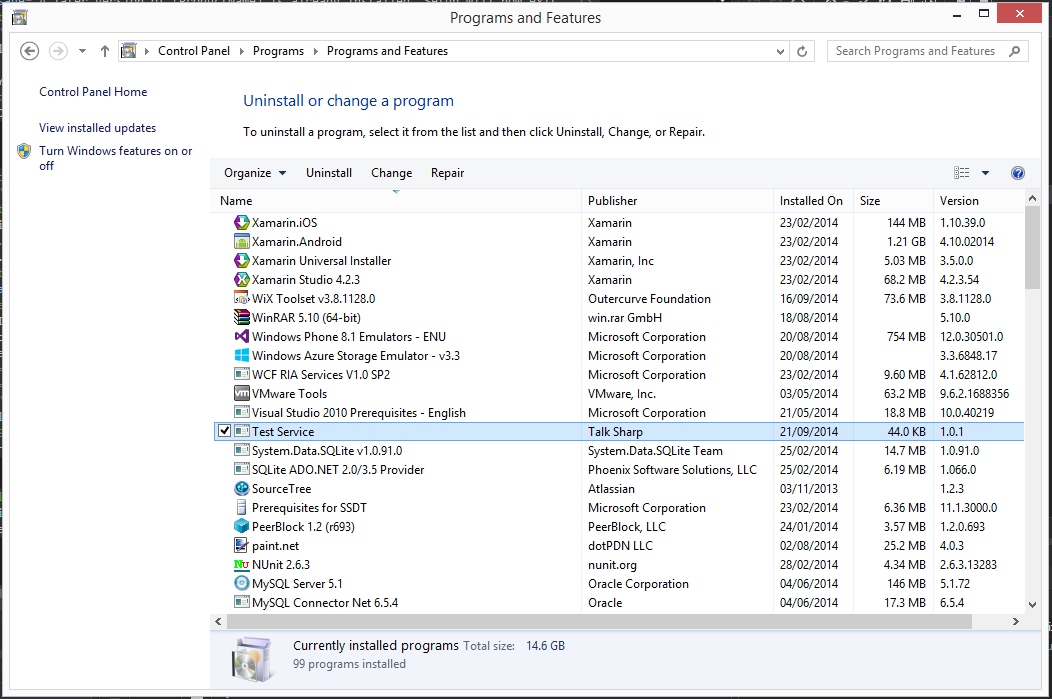
Notice the Name, Publisher and Version. These are the values that were specified in the <?define ?> variables at the start of the Product.wxs file.
Conclusion
WiX setup projects are not as straight forward as traditional setup projects because there is no user interface. However, there is a lot more you can do with the WiX Toolset.
This post has shown the most basic of configurations, and how easy it is to bundle and deploy a Windows service.
In my next post, I will show you how to copy the TestService.exe assembly version number into the package version number at build time. I will also show you how to append the version number to the file name of the generated .msi package.