If your Raspberry Pi does not have a mouse and keyboard connected, or it’s in a different room. You will want to configure x11vnc so that you can connect to the primary X11 session with VNC Viewer. This post will show you how.

Install x11vnc
Fire up a terminal and run the following command:
sudo apt-get install x11vnc
Run x11vnc for the first time
Run the following command to start x11vnc for the first time:
x11vnc -forever -usepw -display :0
Because we have specified the -usepw switch you will be asked to enter a password. This will be the password required by clients when connecting to the Pi.
You should now be able to connect to the Pi using a VNC Viewer client.
Make x11vnc start on boot
If you want to run x11vnc all the time, and start it when the Pi boots up, you will need to create an autostart file. Run the following commands to create the autostart file:
cd .config
sudo mkdir autostart
cd autostart
sudo vim x11vnc.desktop
Paste the following text into the file:
[Desktop Entry]
Encoding=UTF-8
Type=Application
Name=X11VNC
Comment=
Exec=x11vnc -forever -usepw -display :0
StartupNotify=false
Terminal=false
Hidden=false
Save the file and then reboot the Pi:
sudo reboot
Connecting to the Raspberry Pi with Real VNC Viewer
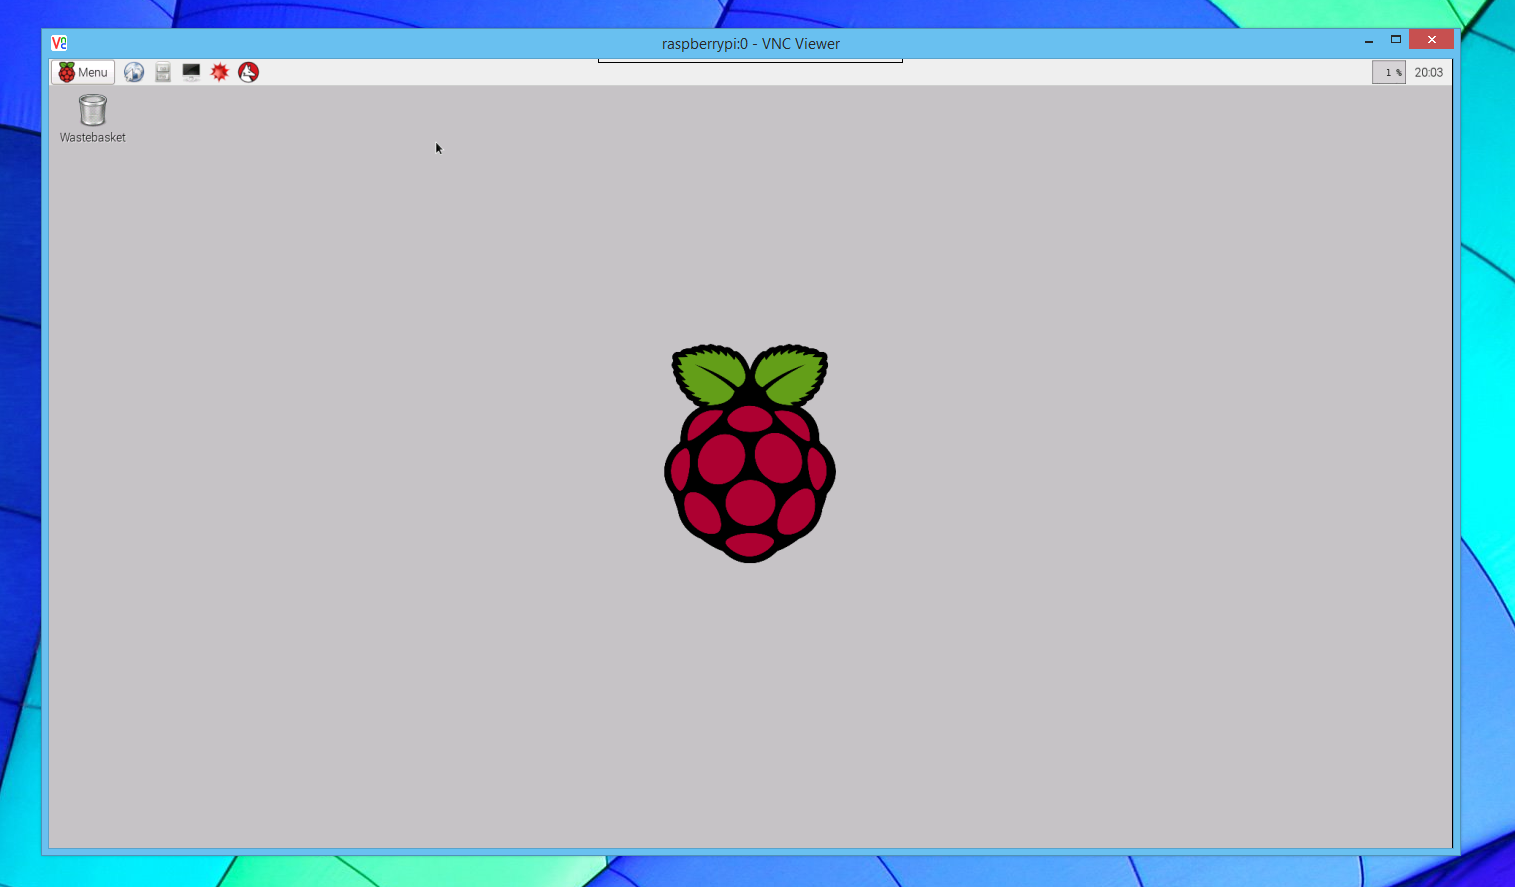
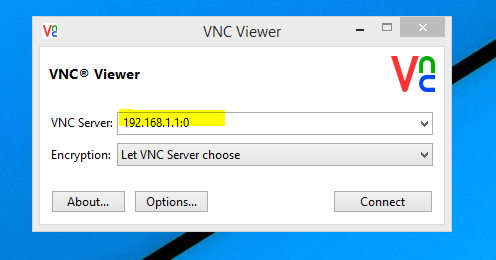
You should now be able to connect to the Pi using your favorite VNC Viewer. The image below shows a connection using Real VNV Viewer on Windows 8.1.

In the example above, I am connecting to a Raspberry Pi that has a static IP address assigned of 192.168.1.1. The :0 appended to the address tells VNC to connect to the main X11 session.
Once connected you should be able to see, and control what is displayed on the display connected to the Raspberry Pi.